
REVIEW · ANNAPURNA CIRCUIT TREKS
Kathmandu: 10-Day Annapurna Circuit Trek via Thorong La Pass
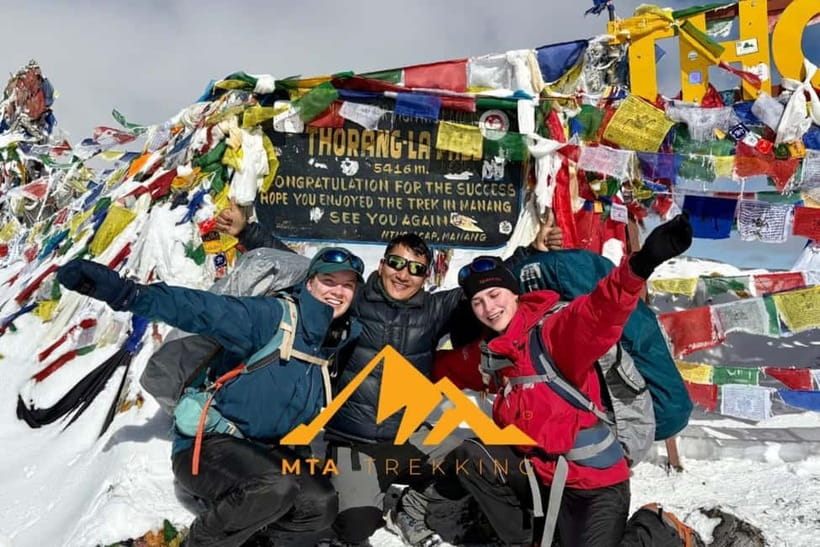
Thorong La at 5,416m is a real test. What makes this trek special is how the route strings together big mountain milestones with very human moments in villages like Chame and Upper Pisang, and then lands you at Muktinath with views of Annapurna, Dhaulagiri, and Machapuchare. With guides such as Ganesh, Prakash, Chakra, and Ghanshyam, the trip is built around steady pacing and altitude sense, not brute force.
I love the acclimatization logic built into the schedule, especially the full day in Manang at around 4,050m where you can explore and do an optional short hike. I also like that you get plenty of time to connect with local life, including village walks and a stupa visit in Manang, plus Buddhist and Tibetan-influenced stops along the way.
One consideration: this is a high-altitude trek, and Acute Mountain Sickness is a real risk. Even with good planning, you still need to take the early mornings, cold nights, and thin air seriously.
In This Review
- Key things I’d circle before you go
- Thorong La at 5,416m: the day you remember
- Route map in words: where you gain altitude and why
- Day by day trek plan, from Chame to Muktinath
- Day 1: Kathmandu to Besisahar, then on to Dharapani
- Day 2: Dharapani to Chame
- Day 3: Chame to Upper Pisang
- Day 4: Upper Pisang to Manang
- Day 5: Acclimatization in Manang
- Day 6: Manang to Yak Kharka
- Day 7: Yak Kharka to Thorong Phedi
- Day 8: Thorong Phedi to Muktinath via Thorong La Pass
- Day 9: Muktinath to Jomsom via Kagbeni
- Day 10: Jomsom to Pokhara by public bus
- Tea house living, meals, and the human side
- Guide and logistics support that makes high altitude feel manageable
- Price and value: what is included in the $447
- What to pack and how to stay safer in thin air
- Should you book this Annapurna Circuit trek?
- FAQ
- What is the duration of the Kathmandu to Thorong La Pass trek?
- What is the highest altitude on this trek?
- Are permits and the Tims card included?
- Are meals included during the trek?
- What languages will the tour guide speak?
- What is included in the Pokhara part after the trek?
- What should I bring, and is alcohol allowed?
Key things I’d circle before you go
- Thorong La Pass at 5,416m: the main objective, with a long day feel and rewarding views on both sides
- Manang acclimatization day: optional walks and time to settle before Yak Kharka and the pass push
- Village-to-village variety: grassy valleys, oak and pine forest sections, Tibetan villages, and Mustang terrain
- Tea house to lodge stays with meals included: less to manage day to day on trail
- Support that adapts: guides who focus on hydration, rest, and choosing safer food at altitude
- Public bus finish to Pokhara: a practical wrap-up day instead of a complicated logistics maze
Longer Circuit loops over Thorong La
Thorong La at 5,416m: the day you remember
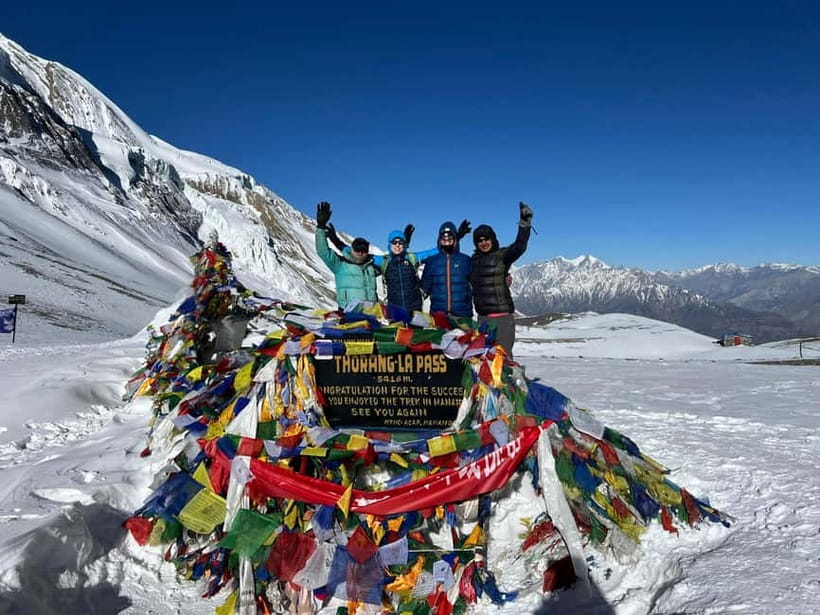
This trek is built around one huge moment: crossing Thorong La Pass at 5,416m. The altitude numbers are not just trivia. They shape how the whole itinerary feels. Days 6 to 8 have a grindy, “slow down and breathe” vibe. Even when a day’s walking time looks reasonable on paper, your body has to work harder because oxygen is thinner.
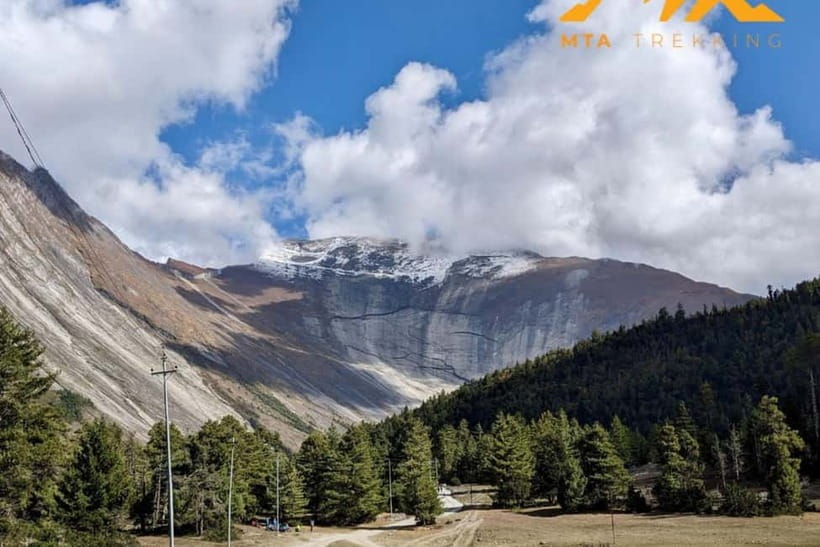
The upside is that the pass day is also where the Annapurna and Dhaulagiri regions start to make sense in your head. On this route, you get changing angles on peaks like Annapurna III and IV, and then later you drop into a different kind of valley scenery on the way to Mustang and toward Muktinath. You’re going from greener lower valleys into higher, drier terrain that feels more Tibetan in character. That shift is part of the magic.
Still, keep your expectations grounded. The pass day is demanding, and the early start matters. If you treat it like a casual hike, altitude will remind you who’s in charge. If you treat it like a plan, with calm pacing and patience, it becomes the kind of day you talk about for years.
Route map in words: where you gain altitude and why
The Annapurna Circuit route here runs a classic pattern. You start around the mid-hills, climb gradually through forest and terraced villages, then spend enough time in Manang to make the high sections more survivable.
A simple way to think about it:
- Lower days teach your legs and mind to keep moving.
- Manang is where your body gets a chance to adjust.
- The days toward Yak Kharka and Thorong Phedi are short on distance but serious on breathing.
- Crossing the pass is the peak effort, followed by descent to Muktinath.
- Then you continue through Kagbeni and finish in Jomsom before a public bus back to Pokhara.
You’ll also notice that the itinerary gives you time to acclimatize without turning your trek into a stop-and-go travel day. For many people, that balance is the difference between a trip that feels strong and a trip that feels like survival.
One more practical point: the trek is structured as tea house and lodge days, with meals included. That matters because at altitude you will want reliable food and predictable stops, not constant searching. You’ll still make smart choices day to day, but you’re not forced into planning every meal with a thin schedule.
Day by day trek plan, from Chame to Muktinath
Below is what each stage is really doing for you, beyond the walking time.
Day 1: Kathmandu to Besisahar, then on to Dharapani
You start with a long transfer. You’ll ride from Kathmandu to Besisahar by bus, then continue by shared jeep to Dharapani. This is not a “see everything” day. It’s a settling-in day. You’ll get Nepali countryside views and forested sections, then end at a trailhead location where the trek begins in earnest the next day.
Practical tip: plan for a warm layer and something to protect your eyes in the vehicle. You’ll want to arrive in Dharapani feeling ready to walk, not stiff and grumpy.
Other lodge to lodge routes near Pokhara
Day 2: Dharapani to Chame
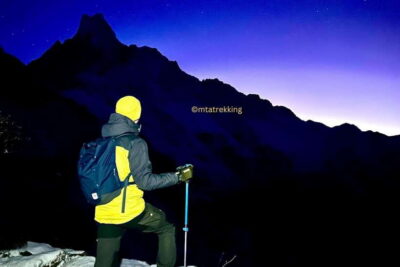
This day climbs to Chame at a maximum altitude around 2,670m. The walk includes grassy fields with views of Annapurna II, plus a stop through a Bhote village and a Buddhist temple area in Bagarchhap. After that, the route goes through oak and pine forest sections.
What I like about Day 2 is the variety. You get a mix of gentle scenery shifts and cultural moments, and you reach Chame without the altitude headache that shows up later. Expect a tea house night and an easy rhythm: walk, rest, eat, repeat.
Possible drawback: the transition from vehicle travel to hiking can be a shock if you don’t stay hydrated from the start.
Day 3: Chame to Upper Pisang
You’ll climb to a max altitude around 3,200m. The trail passes an apple orchard and offers wide views of Lamjung Himal. Then it ascends into Bhratang Valley before descending toward Pisang or Upper Pisang.
Upper Pisang is one of those places where the trek starts to feel more Himalayan and less tropical. The air is sharper, and the views are already starting to show bigger peaks. You’ll likely feel it in your breathing, but it’s still a “warm-up” day compared with what’s ahead.
Day 4: Upper Pisang to Manang
This is a key scenery day. You’ll walk about 5 to 6 hours, reaching a max around 3,540m. The route is known for big sight lines toward Manang Valley and for views that include Tilicho Peak, Annapurna III, and Annapurna IV. You also cross the Marsyangdi River on a wooden bridge and pass villages like Mungji and Braga.
Manang is where the trek starts to feel more like a base camp. You’re still moving on foot, but you’ll notice more people and more trekking infrastructure. You’re also stepping into a higher-altitude village culture, which makes the next day of acclimatization more meaningful.
Day 5: Acclimatization in Manang
This is one of the best parts of the itinerary. You spend a full day in Manang with a max altitude around 4,050m. The goal is simple: help your body adjust before the pass.
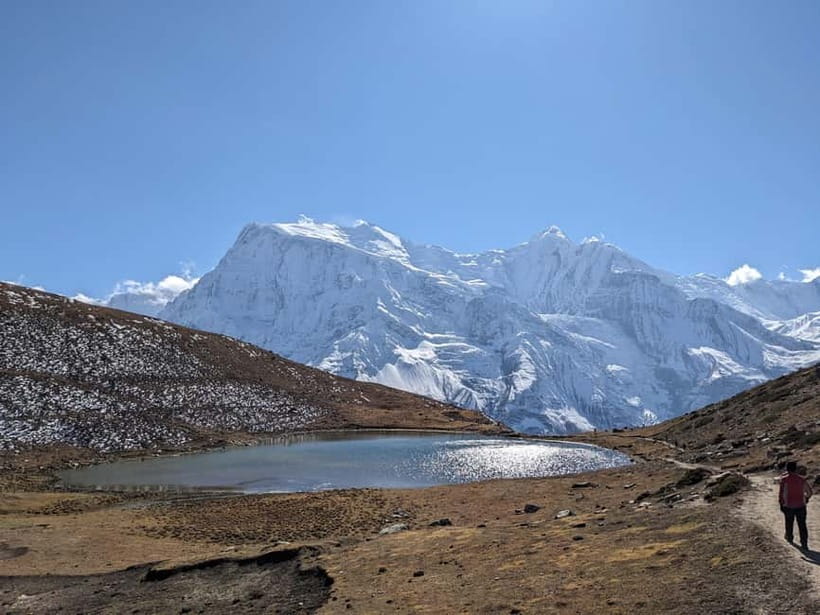
You can take optional day treks, such as walking to see an icefall by crossing a river, or visiting Gangapurna Glacier Lake. You also have time to explore Manang village and visit a stupa. Even if you only do gentle walking, this day often makes the difference between enjoying the rest of the trek and feeling wrecked by the pass effort.
If you’re new to altitude treks, treat this day like training. Walk a little. Rest a lot. Drink steadily. Don’t chase the view at the cost of your breathing.
Day 6: Manang to Yak Kharka
This leg is shorter in walking time, but the altitude is higher (max around 4,050m). You’ll hike toward Yak Kharka and enjoy extensive mountain vistas, and yes, it can feel surprisingly difficult because your body is already working hard.
This day is where you really start using the rhythm guides recommend: slow pace, consistent breaths, and fewer dramatic efforts. If you’re trying to “win” the day, altitude will punish that.
Day 7: Yak Kharka to Thorong Phedi
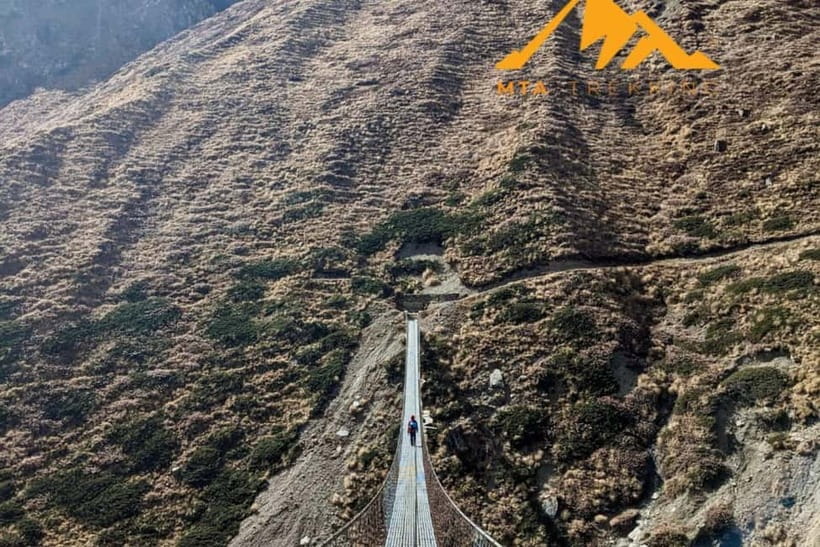
Now you’re moving toward the pass. The max altitude climbs to around 4,450m. You’ll take 4 to 5 hours and get a gradual ascent to a hilltop, then descend toward the Marsyangdi headwaters. You’ll cross a hidden wooden bridge and follow the trail on the right bank of the Marsyangdi River.
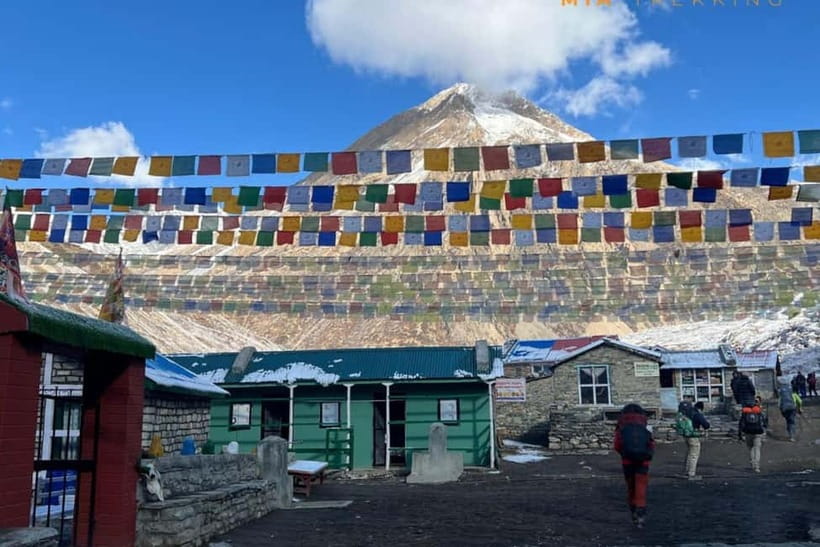
As you get closer to Thorong Phedi, the scenery becomes more focused and dramatic. Everything feels more exposed. It’s also a smart day psychologically because it gets you to the doorstep of the pass while still giving your body a manageable load.
Day 8: Thorong Phedi to Muktinath via Thorong La Pass
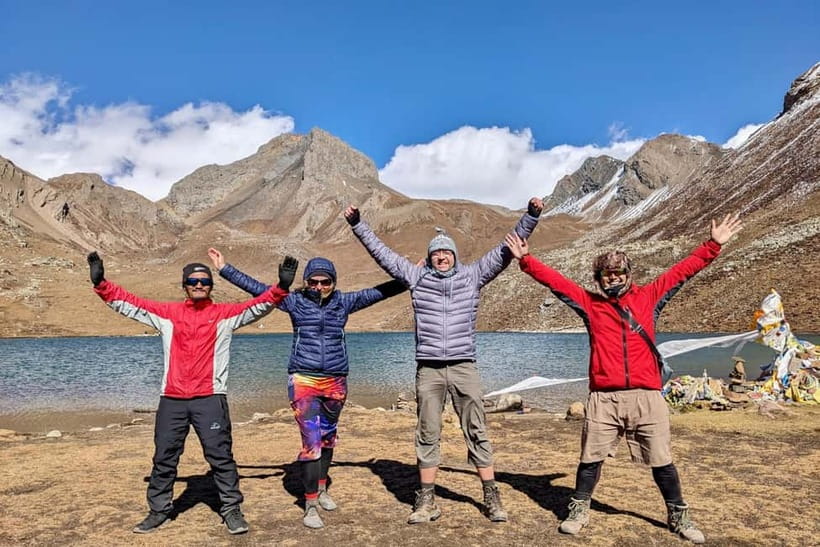
This is the heavyweight day. You cross Thorong La Pass at 5,416m and descend toward Muktinath. The walking time is listed at about 7 to 8 hours, with a long, sustained effort.
What to expect:
- The pass crossing itself is the challenge, especially with cold air and thin breathing.
- After the pass, you shift into descent mode, and the views open up into the Mustang valley area and toward Dhaulagiri.
This is the day that people remember, partly because it’s hard, partly because it feels earned. If your guide is doing their job, you’ll keep moving without panic. You’ll also stop when you need to, not when your ego wants to push through.
Day 9: Muktinath to Jomsom via Kagbeni
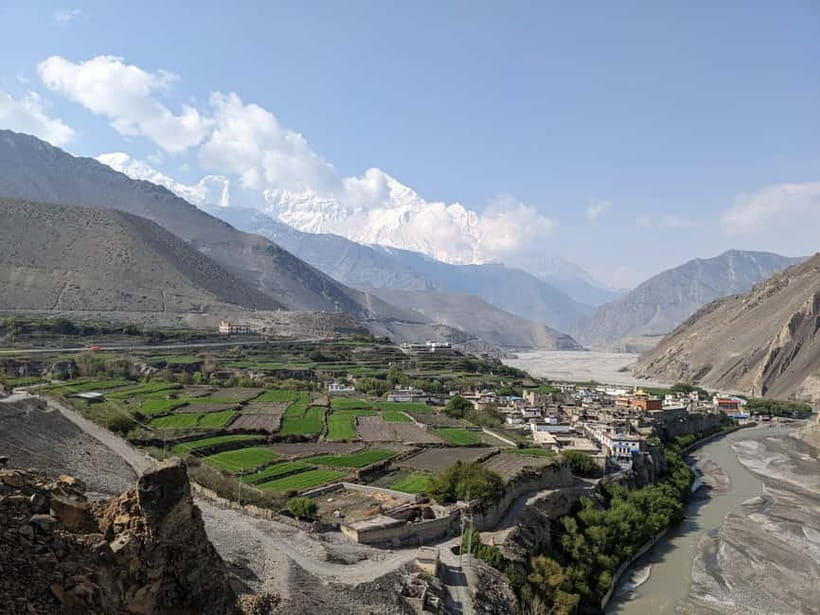
You continue with around 7 to 8 hours of trekking. Kagbeni is a memorable cultural stop, and you’ll get a different kind of valley feel than the earlier parts of the route. Then you reach Jomsom and settle into the end-of-trek rhythm.
This is also a good day to mentally process what you’ve done. After Thorong La, everything feels either easier or more “real,” depending on how you’re feeling physically.
Day 10: Jomsom to Pokhara by public bus
You finish with a public bus ride to Pokhara, listed at about 8 hours. It’s a practical ending day, and it helps you avoid adding extra complicated transfers right after a high pass.
Back in Pokhara, you’re included for one night at Hotel Orchid, plus a farewell dinner after the trek. Then you have time to rest properly, reflect, and enjoy a slower pace.
Tea house living, meals, and the human side
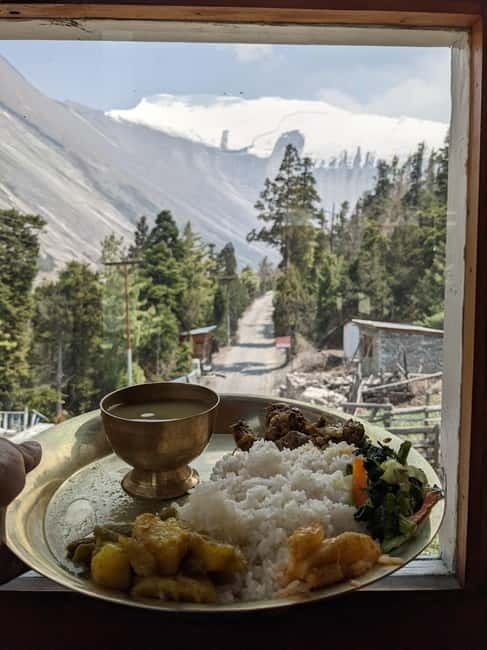
Most of the trek runs through tea houses and lodges. That usually means simple rooms, shared dining areas, and meals that are designed for trekkers who want something filling and easy to eat. Since all meals are included during the trek, this is one less decision you have to make when you’re tired.
Food quality matters more at altitude than most people expect. In the feedback I saw, guides emphasized hydration and food choices, including avoiding junk foods and meat at higher elevations. That kind of common-sense coaching helps your stomach and energy levels stay steadier when you’re walking in cold air.
Also, this trek includes a local guide and time built around local culture. You’re not just walking through places. You’re passing Buddhist temple areas, Tibetan-influenced villages, and village stops in Manang, including the stupa visit.
If you’re the type who likes small conversations and learning how people live, you’ll probably enjoy these moments. If you’re mostly here for the pass and don’t care about village culture, you can still appreciate it, but you might find yourself moving a bit faster mentally than the pace of daily life.
Guide and logistics support that makes high altitude feel manageable
This experience is run as a private group with an experienced government registered local guide. You also get hotel pickup and drop-off around Kathmandu Thamel and Pokhara Lakeside.
Here’s what that support can mean in real terms:
- You’re not trying to coordinate permits and route details on your own.
- You have continuity, so decisions are consistent day to day.
- Your guide can push you to acclimatize safely and keep you moving at the right speed.
The names that showed up in the guidance included Ganesh, Prakash, Chakra, and Ghanshyam. Across these accounts, the consistent theme was care around acclimatization and pacing. Some guides suggested rest, hydration habits, and safer food choices. One guide even helped with water treatment by providing purifier pills, which is a small thing until you’re high on the trail and want clean drinking water fast.
One more logistics note that can matter: your travel includes permits and Tims card, plus all transport between destinations during the trek, including the shared jeep segment and the public bus to Pokhara. That reduces the “where do we go next” stress when you’d rather just put on your shoes and focus on the day ahead.
Price and value: what is included in the $447
At $447 per person (for a 10-day trek), the value mostly comes from what’s covered rather than what you’re paying for as a raw “tour.”
Included items you should care about:
- Pickup and drop-off from hotels in Kathmandu Thamel and Pokhara Lakeside areas
- Permits and Tims card
- A government registered local guide
- Accommodations in tea houses and lodges during the trek
- All trek meals (breakfast, lunch, dinner)
- One night in Pokhara at Hotel Orchid after the trek
- Farewell dinner after the trek
- Emergency rescue assistance if something goes wrong
- Public transport segments (Kathmandu to Besisahar, Besishar to Dharapani), and the final bus day back to Pokhara
What is not included, and you should budget for it:
- Travel and rescue insurance
- Soft and hard drinks
- Nepal visa fee and international flights
- Personal expenses such as extra water bottles or boiled water, shower costs, phone charges, laundry, and battery recharge
- Trekking gears
So, is it worth it? For many people, yes, because altitude trekking is already expensive in effort. When meals, lodging, transport, permits, and guiding are handled, you spend your energy on adjusting to altitude instead of managing logistics. The price also makes sense if you compare it to doing the trek “from scratch” where you’d still need permits, guide services for safety, and multiple travel transfers.
Just don’t treat the included rescue help as a substitute for proper travel insurance. The trek notes strongly recommend comprehensive travel insurance with medical coverage and helicopter evacuation up to an altitude of 5,400m.
What to pack and how to stay safer in thin air
This trek is high altitude, and the plan includes a clear warning about Acute Mountain Sickness (AMS) risk. That means your packing and habits should be boring and effective.
Bring:
- Warm clothing for cold mornings and nights
- Change of clothes
- Long pants
- A waterproof bag
- Sunscreen and sunglasses
- Passport or ID card
- Trekking gear and hiking shoes
- A few basics you can access easily when weather turns
On safety, I’d take the “don’t underestimate risks” part seriously. Altitude can hit fast even with a good itinerary. If you have any concerns, especially respiratory issues, don’t gamble.
Who the trek is not suitable for is also clearly spelled out:
- Children under 15
- People over 70
- People with altitude sickness
- People with respiratory issues
- Pregnant women
One more practical guideline from the trek info: alcohol and drugs are not allowed. That’s not just a policy detail. It’s part of keeping your body functioning well at altitude.
Should you book this Annapurna Circuit trek?
Book it if you want a structured Annapurna Circuit that focuses on sensible acclimatization, village culture, and a real attempt at Thorong La. You’ll likely appreciate the included meals and tea house routine because it lowers daily stress. The Manang acclimatization day is the standout piece, and the route gives you a clear path from forested hills to high pass terrain.
Hold off or look for a different fit if you know you struggle with altitude, you have respiratory limitations, or you don’t want a physically demanding high pass day. Also, if cold nights are a deal-breaker for you, plan on bringing warmth you can actually rely on.
If you do book, go in with a simple game plan: move slowly, drink steadily, and listen to your guide when they tell you to rest. That approach is what turns Thorong La from a scary headline into a memorable accomplishment.
FAQ
What is the duration of the Kathmandu to Thorong La Pass trek?
The trek duration is 10 days.
What is the highest altitude on this trek?
The highest point is Thorong La Pass at 5,416m.
Are permits and the Tims card included?
Yes. Permits and the Tims card are included.
Are meals included during the trek?
Yes. Breakfast, lunch, and dinner are included during the trekking days.
What languages will the tour guide speak?
The guide is available in English and Hindi.
What is included in the Pokhara part after the trek?
You get 1-night accommodation at Hotel Orchid in Pokhara and a farewell dinner after the trek.
What should I bring, and is alcohol allowed?
You should bring warm clothing, change of clothes, long pants, a waterproof bag, sunscreen, passport or ID card, trekking gear, hiking shoes, and sunglasses. Alcohol and drugs are not allowed.
Lodge to Lodge Around Pokhara
The Rest of Our Pokhara Write Ups
The Circuit, Other Itineraries
Everything else we have reviewed around Pokhara
- Pokhara: Cable Car Tour – Bird Eye View of Mountain & Lake
★ 4.4 · 3 reviews - Jomsom Muktinath Tour by 4WD SUV 2 Days
★ 5.0 · 3 reviews - Ghorepani Poonhill Private Trek – 2 nights / 3 days
★ 4.5 · 3 reviews - Pokhara: 30-Minute Paragliding Adventure with pick up/drop off
★ 4.5 · 3 reviews - Pokhara: 7-Day Annapurna Base Camp Trek via Ghandruk
★ 4.3 · 3 reviews - Pokhara Group Joining Sarangkot Sunrise Himalayas Tour
★ 5.0 · 3 reviews
Annapurna Circuit Treks worth a second look.
 ★ 5.0Annapurna Circuit Trek with Tilicho LakeFrom $1,093368 reviews
 ★ 5.0Annapurna Circuit TrekFrom $1,17594 reviews
★ 5.0Annapurna Circuit TrekFrom $1,15035 reviews
★ 5.0Annapurna Circuit TrekFrom $97534 reviews
 ★ 5.0Annapurna Circuit with Tilicho Lake TrekFrom $1,09325 reviews
 ★ 5.010-Day Adventurous Annapurna Circuit TrekFrom $46725 reviews
 ★ 5.015-Day Private Annapurna Circuit Trek from KathmanduFrom $99518 reviews
 ★ 5.09-Day Annapurna Circuit Trek via Thorong La Pass17 reviews
Lists this tour sits in